Checklist for Safe Slab Handling and Storage Before Install
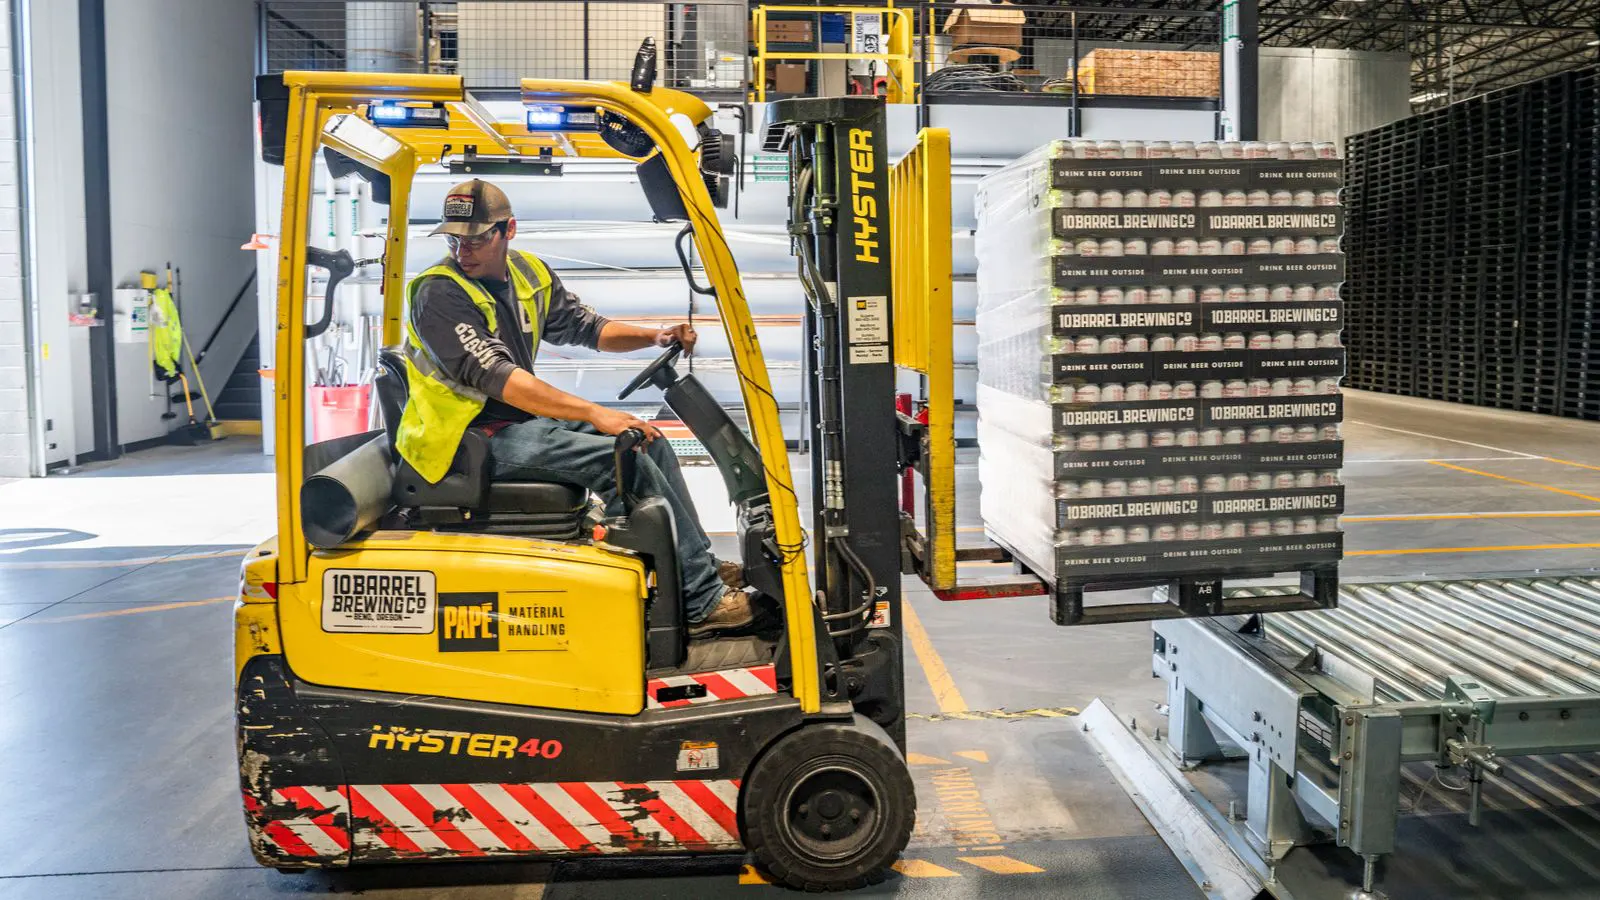
A proper slab handling checklist verifies storage racks, lifting gear, and site conditions before installation. This step-by-step audit prevents breakage, protects workers, and secures the material until it is ready for setting.
- Verify all lifting equipment is rated for the specific weight and dimensions of the slabs before the first lift.
- Store large tiles on padded, level racks with adequate spacing to prevent edge contact and vibration transfer.
- Inspect each slab for surface flaws and edge chips before it enters the installation area.
- Keep the site dry and clear of debris to reduce slip risks and protect the material during the lay-down period.
- Establish a clear protocol for moving slabs from storage to the work zone to avoid congestion.
Verify the Storage Area Before Delivery
The storage zone must be prepared before the first pallet arrives. Large format slabs are heavy and rigid. A soft floor will crack the edges. A tilted floor will stress the slabs and create uneven contact points.
Check the ground or floor structure first. The surface should be hard, flat, and capable of supporting the dynamic load. Concrete is the standard choice. If the site is temporary, use compacted gravel with a rigid base plate or a heavy-duty plywood platform.
Measure the available area. You need room for the slabs, plus clearance for walking and lifting. A common mistake is storing slabs right up against a wall or in a narrow corridor. Workers cannot safely position a lifting frame around the tile.
The area should be covered or in a controlled environment. Rain and direct sunlight create temperature gradients. Rapid expansion and contraction can lead to micro-cracks. Wind also poses a risk. A gust can shift a stack if the bottom layer is not secured.
Audit the Lifting and Moving Equipment
Slabs are not carried by hand. The weight of a single large porcelain slab can exceed the safe manual handling limit for most crews. You need mechanical advantage.
Check the lifting straps or slings. They must be rated for the weight of the heaviest slab in the lot, plus a safety factor. Inspect the fabric for fraying, cuts, or chemical damage. If the straps are old, replace them.
The lifting frame or trolley must be stable. Test the wheels. A jammed wheel can tip the load during a turn. The frame should have a low center of gravity. It should also allow two people to guide the load safely without leaning over the edge.
Verify the material condition before the first lift. Do not test equipment on a damaged slab. If a slab is cracked, remove it from the handling chain immediately. A compromised slab will break under the stress of a lift.
Inspect the Slabs for Defects
Do not assume every slab in the pallet is perfect. Large tiles are made in continuous runs, but minor flaws can occur during firing or cutting.
Check the surface. Look for pinholes, glaze bubbles, or discoloration. These may seem minor, but they can affect the aesthetic quality of the finished floor.
Check the edges. This is the most critical area. Even a small chip on the edge can propagate into a full breakage when the slab is lifted or set. Use a flashlight and inspect the edges at an angle.
Check the back. Look for voids or uneven support marks from the kiln. These can cause the slab to bow. A bowed slab will not sit flat on the adhesive bed.
If you find a defect, mark it clearly. Use a permanent marker or a tag. Do not try to hide it. A damaged slab should be returned to the supplier or set aside for a non-visible area if the defect is acceptable for that specific use.
Store Slabs Correctly
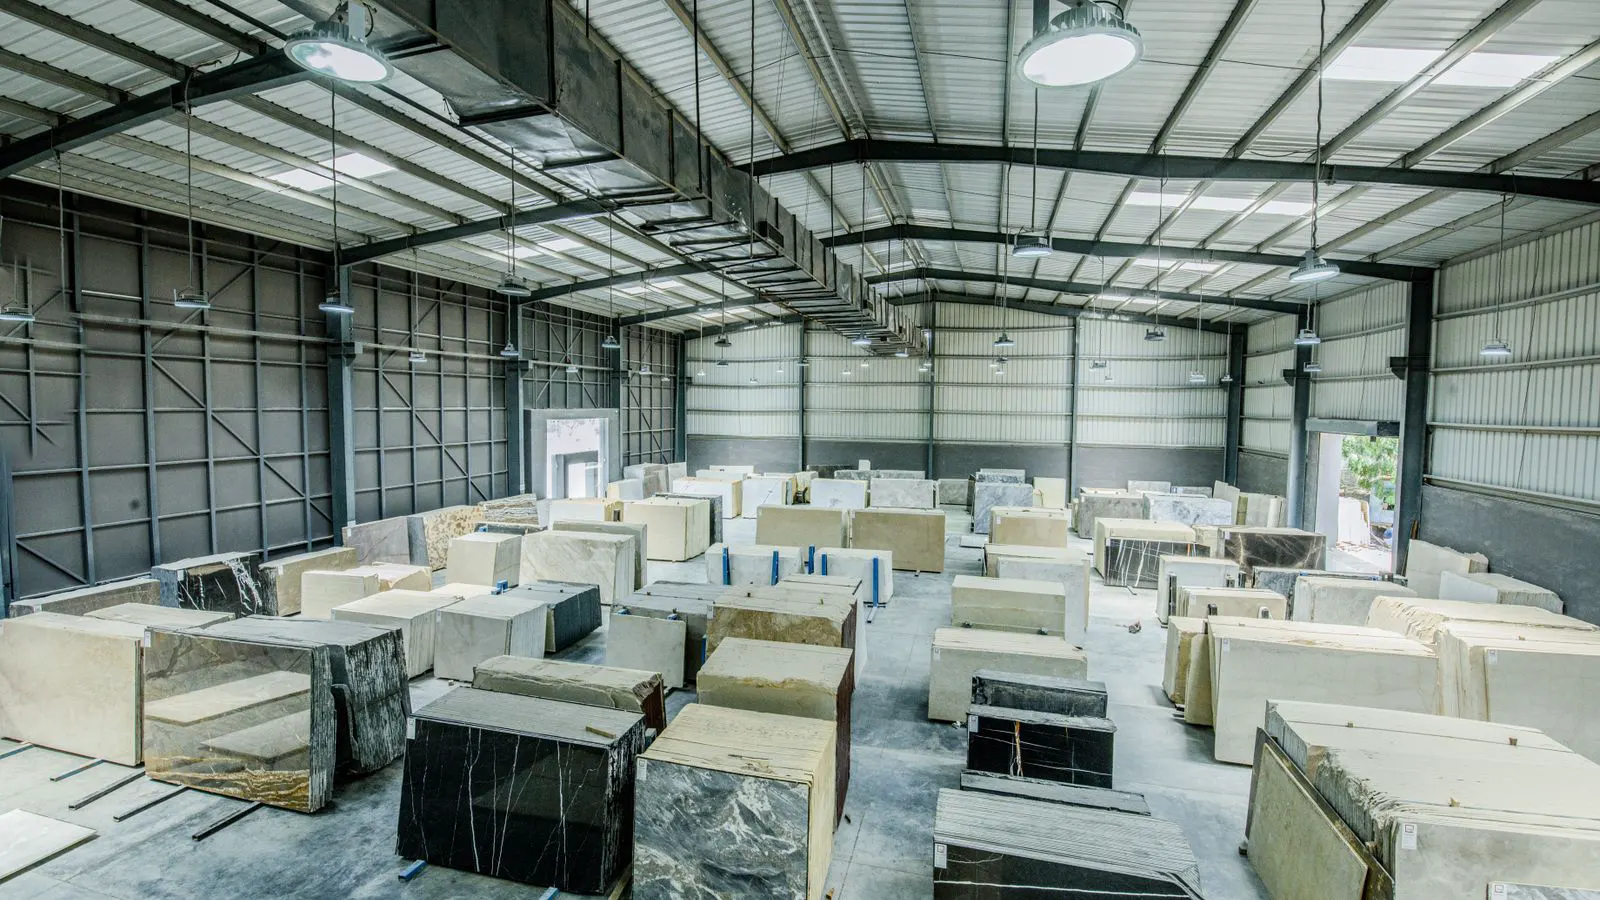
Large tile storage requires specific conditions. The slabs should be stored vertically, not horizontally. Stacking slabs flat places immense pressure on the bottom tile. The weight of the tiles above can crush the lower ones.
Use a dedicated rack. The rack should have padded supports. Hard wood or metal edges will scratch the glaze. The supports should be spaced to align with the slab width. This prevents the slab from flexing.
Stack height is a limit. Do not stack slabs higher than the rack is designed to hold. Do not exceed the center of gravity. A tall stack is unstable. If a worker bumps the rack, the top slabs can fall.
Separate batches. If you have different colors or finishes, keep them separate. Mixing them makes it hard to find the right slab for the layout. Label the racks clearly.
Establish a Site Safety Protocol
The installation site is a construction zone. Slabs add a new set of hazards. The floor may be uneven. There may be debris, dust, or wet areas.
Clear the path. The route from storage to the work area must be clear of cables, tools, and materials. A trip on a cable can drop a slab.
Wear proper PPE. Hard hats are recommended if there is overhead work. Steel-toe boots are mandatory. Cut-resistant gloves are needed for handling edges. Safety glasses protect from dust and small debris.
Post warning signs. If the area is wet or slippery, use cones and signs. If the area is under construction, restrict access to authorized personnel only.
Create a Handling Sequence
Do not move slabs randomly. Plan the sequence. Move the slabs you need first. This reduces the number of times a slab is picked up and set down. Each move is a risk.
Stage the slabs near the work area. Keep them off the ground on the padded supports. Do not lean them against the wall. The wall may be wet or dusty.
Keep the work area clean. Dust and debris can get into the adhesive joint. Clean the floor before setting the next row.
If a slab is dropped, stop. Assess the damage. Do not use a cracked slab on a visible area. A crack that is not visible now can become visible later due to thermal movement or foot traffic.
Documentation and Sign-Off
Keep a log. Record the delivery date, the number of slabs, and the condition of each pallet. Take photos of any defects before you start. This provides evidence for any claims with the supplier.
Have the foreman or site manager review the checklist. A second set of eyes can catch a missed item. The sign-off protects the team and the project.
If the checklist is not complete, do not start the installation. The risk of injury or material waste is too high. Fix the issue first.
| Check Item | Acceptable Condition | Red Flag |
|---|---|---|
| Lifting Straps | Intact fabric, rated weight, no cuts | Fraying, chemical stains, missing rating tag |
| Storage Rack | Padded supports, level base, stable legs | Cracked wood, bent metal, uneven legs |
| Slab Edges | Smooth, no chips, uniform thickness | Visible chip, crack, or uneven edge |
| Storage Floor | Hard, level, dry, clean surface | Soft ground, sloped, wet, or dusty |
| Site Path | Clear of obstacles, dry, well-lit | Cables, debris, wet patches, poor lighting |
Final Verification Before First Install
Walk the site one last time. Check the lighting. Low light makes it hard to see small flaws or trip hazards. Check the ventilation. Dust from cutting can build up quickly.
Check the crew. Are they trained on the lifting equipment? Do they know the weight of the slabs? If not, provide a brief training session before the first lift.
Have the first slab ready. Inspect it one more time. If it passes, proceed. If it fails, move to the next one.
The goal is a safe, efficient start. A well-prepared site reduces errors. It also protects the investment in the material.
Common Mistakes to Avoid
Skipping the edge inspection is the most common error. Workers often focus on the surface. The edges are where the stress concentrates. A small chip can become a break.
Overloading the rack is another mistake. Adding a few extra slabs seems harmless. But it changes the load distribution. One extra slab can tip the stack.
Ignoring weather is a risk. Rain makes the floor slippery. It also adds weight to the slabs if they are not covered. Sun heat can warp the storage rack.
Rushing the move is dangerous. Slabs are heavy. A rushed lift is an uncontrolled lift. Use the frame. Move slowly.
Not communicating is a major hazard. If one person is lifting and another is walking, there is a risk of collision. Establish a clear signal. One person commands the lift. The others follow.
When to Stop
Stop the process if the equipment fails. If a strap breaks, do not try to continue. Inspect the slab. If it is damaged, remove it.
Stop if the floor becomes wet or slippery. Do not force the material through a hazardous condition. Wait for the floor to dry.
Stop if the crew is fatigued. Heavy lifting is physically demanding. Fatigue leads to errors. An error with a 50kg slab can cause serious injury.
If you encounter any of these conditions, pause the work. Assess the situation. Fix the issue. Then proceed.
The checklist is a tool. It is not a suggestion. Use it every time. The safety of the crew and the integrity of the material depend on it.
Frequently asked questions
Can large slabs be stored horizontally if the rack is strong?
No. Horizontal stacking places excessive pressure on the bottom tile. The weight of the slabs above can cause crushing or bending at the edges. Vertical storage on padded racks is the standard for large format tiles.
What is the minimum clearance needed around storage racks?
Allow at least one meter of clearance on all sides. This space is required for workers to position the lifting frame and for safe walking. Do not store slabs in narrow corridors or tight corners.
How often should lifting straps be inspected?
Inspect straps before every use. Check for fraying, cuts, and chemical damage. If any damage is found, take the straps out of service immediately. Do not repair them. Replace them.
Is it safe to lift a slab if the edge has a small chip?
No. A chip indicates a structural weakness. The crack can propagate during the lift or when the slab is set. Remove the damaged slab from the handling chain and assess it for return or alternative use.
What should be done if a slab is dropped during handling?
Stop the process. Assess the damage carefully. If the slab is cracked or chipped, do not use it on a visible area. A hidden crack can become visible later due to thermal movement or foot traffic.