How to Calculate Tile Coverage and Waste for Large Projects
Accurate tile coverage calculation requires measuring the exact installation area, accounting for pattern offsets, and adding a calculated waste percentage based on panel size and layout complexity. This method minimizes material planning errors.
- Measure the installation area in square meters and divide by the nominal panel size to get the base quantity.
- Add waste percentages based on pattern complexity, panel size, and installation method.
- Break down the project into zones and calculate coverage for each zone separately to improve accuracy.
- Verify the final quantity against the supplier's cutting yield and pallet structure.
What You Need Before You Start
Before opening a spreadsheet, gather the installation drawings and the technical data sheet for the selected panel. You need the exact dimensions of the room or area. A standard floor plan is not enough if it shows only walls. You need the finished dimensions, meaning the distance from wall to wall after skirting and thresholds are removed.
You also need the nominal size of the tile. This is the size printed on the box, such as 300mm by 600mm. The actual size may vary slightly, but the nominal size is what you use for the calculation. The technical data sheet will list the tolerances. If the tolerance is high, your waste calculation must be higher.
Finally, determine the layout pattern. A straight grid is the simplest. A diagonal layout, a chevron pattern, or a mix of large and small panels requires a different approach. The pattern determines how much material gets cut away at the edges and corners.
How to Calculate the Base Area
Start with the rectangular area. Multiply the length by the width. This gives you the gross square meters. If the room has a bay window or a curved wall, draw the shape on paper. Divide it into rectangles and triangles. Calculate the area of each part and add them together.
For a straight grid on a rectangular room, the base calculation is straightforward. Take the total square meters and divide by the area of one tile. For example, a 500 square meter area with 0.06 square meter tiles (600mm by 1000mm) requires roughly 8,333 tiles. This is the theoretical minimum. It assumes a perfect cut with no offcuts and no breakage.
In reality, no installation is perfect. The next step is to apply the waste factor.
How to Apply the Waste Factor
Waste calculation is not a single number. It is a range based on several variables. The most common variables are panel size, pattern, and the number of cuts.
Large panels, such as 1000mm by 1000mm, generally have lower waste on open floor plans because fewer cuts are needed. Small panels, such as 100mm by 100mm, have higher waste because the grout lines and cuts are more frequent.
The pattern matters more than the size. A straight grid on a rectangular room with no obstacles has the lowest waste. A diagonal layout adds roughly 5 to 10 percent more waste because every tile at the edge is cut. A chevron or herringbone pattern increases waste further because the joints are not aligned with the walls.
Obstacles like columns, door frames, and pipe risers also increase waste. Each obstacle creates a new set of cuts. If the room has many fixtures, add a buffer to the waste percentage.
The table below shows typical waste ranges based on layout complexity. Use these as a starting point, not a rule.
| Layout Type | Typical Waste Range | Reason |
|---|---|---|
| Straight Grid | 5 to 10 percent | Minimal cuts, standard rectangular area |
| Diagonal Layout | 10 to 15 percent | Edge cuts on every tile row |
| Chevron or Herringbone | 15 to 25 percent | Complex joint alignment and edge cuts |
| Large Open Area | 5 to 8 percent | Fewer cuts, large panels |
| Small or Busy Room | 15 to 20 percent | More fixtures and cuts per square meter |
How to Break Down the Project by Zone
For large projects, do not calculate the whole site as one block. Break it into zones. A shopping mall, for example, has a main hall, corridors, staircases, and service rooms. Each zone has a different shape and layout.
Calculate the area for each zone separately. Apply the waste factor for that specific zone. A long corridor with a straight grid needs less waste than a circular atrium with a radial pattern.
This zone-based approach also helps with logistics. You can order materials for the first zone, install it, and then order for the second zone. This reduces storage space and the risk of damage during long storage periods.
How to Account for Cutting Yield
Every tile is cut differently. A straight cut across a 1000mm tile might leave a 200mm offcut. A cut around a column might leave a small, unusable scrap. The cutting yield is the percentage of material that remains usable after cutting.
On a large project, the offcuts from one zone can sometimes be used in another. If you have a large panel in the main hall and a small panel in the corridor, you might cut the offcut from the main hall to fit a small gap in the corridor. This is called cross-utilization.
However, do not rely on cross-utilization for your main calculation. Treat it as a bonus. If the offcuts are usable, your actual waste will be lower than the calculated waste. If they are not usable, your waste will be higher.
How to Verify the Final Quantity
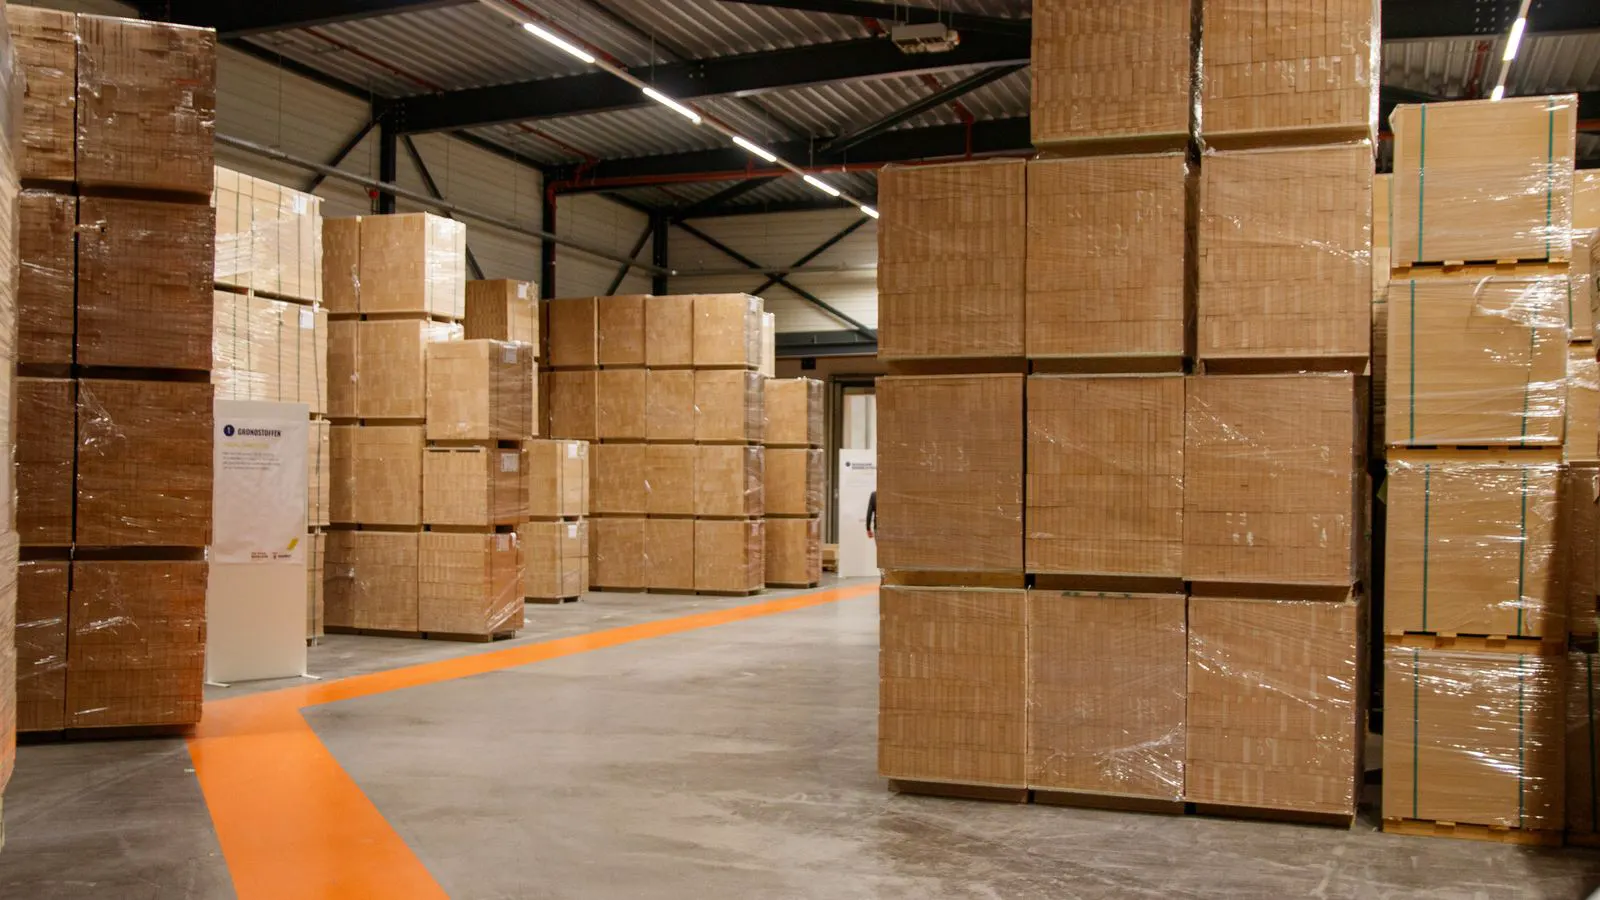
After you have calculated the quantity for each zone, sum them up. Then, check the result against the pallet structure. Suppliers pack tiles in fixed quantities per pallet. If your calculation requires 8,340 tiles, and a pallet holds 25 tiles, you need 334 pallets. If you need 8,350 tiles, you need 335 pallets. You cannot buy a fraction of a pallet.
Round up to the next full pallet. This is a small cost increase, but it prevents a shortage on site. A shortage means waiting for a new production run or buying from a different color batch, which creates a visible mismatch.
Finally, verify the calculation with the site team. Ask them to look at the drawings and confirm the area. Ask them to point out any obstacles you might have missed. A quick walk-through of the site with the drawings in hand catches more errors than any formula.
Common Mistakes to Avoid
The first mistake is using the gross area instead of the net area. If you include the walls and skirting in the calculation, you will over-order. Measure the finished floor area only.
The second mistake is applying a single waste percentage to the whole project. A straight grid and a chevron pattern do not have the same waste. Always break the project down by zone.
The third mistake is ignoring the panel size. Large panels are not always better. If the panel size does not match the room dimensions, the cuts will be larger and the waste will be higher. Choose the panel size based on the room dimensions, not just the aesthetic.
The fourth mistake is not checking the pallet structure. Always round up to the next pallet. Do not try to save a pallet. The cost of a delayed installation or a color mismatch is far higher than the cost of one extra pallet.
Final Verification Checklist
Before you place the order, run through this checklist.
- Confirm the net area for each zone.
- Check the nominal tile size and tolerance.
- Identify the pattern for each zone.
- Apply the waste factor based on the table above.
- Calculate the base quantity for each zone.
- Add the waste to the base quantity.
- Round up to the next full pallet.
- Verify the total against the supplier’s packing list.
- Walk the site with the drawings one last time.
This process takes time, but it saves money. A small error in the calculation can lead to a large over-order or a costly shortage. By breaking the project down, applying the correct waste factors, and verifying the final quantity, you reduce risk and ensure a smooth installation.
Frequently asked questions
What is the difference between gross area and net area in tile calculation?
Gross area is the total space including walls and fixtures. Net area is the finished floor area where the tile will actually be laid. You always calculate based on the net area.
How much waste should I add for a large open plan office?
For a large open plan office with a straight grid, add 5 to 8 percent. If there are many columns or partitions, add more. The more cuts, the higher the waste.
Can I use offcuts from one area in another area?
Yes, if the offcuts are large enough and the color matches. This is called cross-utilization. But do not count on it for your main calculation. Treat it as a bonus.
How do I calculate the area of a room with a curved wall?
Divide the curved shape into straight rectangles and triangles. Calculate the area of each part and add them together. This gives you an accurate net area.
Should I order extra tiles for breakage?
Yes. The waste factor includes breakage, but if the tiles are large or fragile, add a small buffer. A 1 to 2 percent buffer for breakage is a safe practice on large projects.