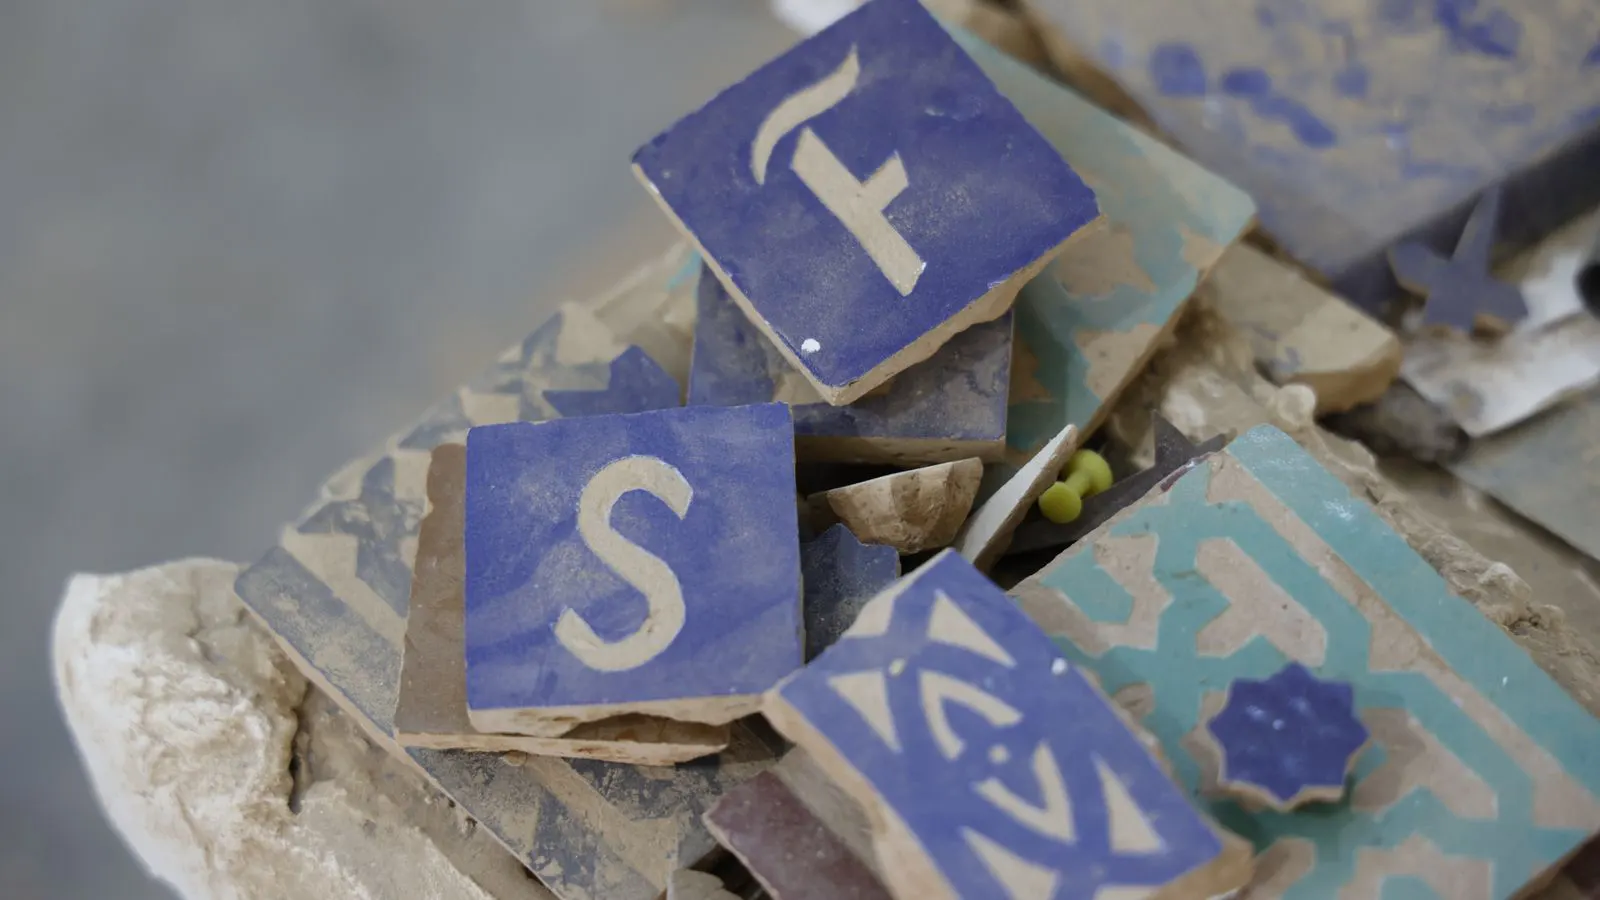
Fixing Grade B Tile Defects in Finished Floors

Correcting tile defects in Grade B installations requires targeted repairs rather than full replacement. This guide covers common surface imperfections, inspection methods, and permanent fixes for finished floors to maintain visual consistency and structural integrity.
- Identify defect type before selecting a repair method to avoid visible patch lines.
- Use matching grout color and compatible adhesives to ensure long-term bond strength.
- Document all repairs for future maintenance and warranty claims with the supplier.
- Protect repaired areas during curing to prevent new surface damage.
- Consider professional assessment for large areas or structural damage beyond cosmetic fixes.
Why Grade B Tiles Require Different Repair Strategies
Grade B tiles carry surface imperfections that fall within acceptable quality limits for non-premium applications. When these tiles are installed in finished floors, minor defects can become noticeable under certain lighting or viewing angles. The repair approach must match the defect type, the floor traffic level, and the surrounding tile finish.
Unlike Grade A tiles, which are selected for visual uniformity, Grade B tiles often show variation in glaze thickness, minor crazing, or small chips. These issues do not always require removal. Some can be corrected in place with minimal intervention. Others demand more careful assessment before any physical change is made.
The goal of repair is restoration, not perfection. The finished floor should look consistent and remain structurally sound. A repair that introduces a new mismatch may create a more noticeable problem than the original defect.
Identifying the Defect Before You Start
Start by documenting each problem area. Photograph the defect under natural light and with a flashlight held at a low angle. This reveals glaze depth, edge chips, and subtle surface cracks that are hard to see from above.
Use a soft cloth to remove dust and grout residue from the affected tile. Wipe the surface dry and check again. Some apparent defects are actually dirt trapped in the glaze. Others are true material flaws that will not improve with cleaning.
Measure the size of the defect. Small chips under two millimeters are usually manageable with touch-up methods. Larger breaks or deep scratches may require tile replacement. If the defect crosses a grout joint, the repair scope expands to include adjacent tiles or grout lines.
Check the substrate. Press the tile gently at the defect point. If it moves, feels hollow, or the grout around it is soft, the issue is not only cosmetic. The tile may have lost its bond. In that case, the repair process changes significantly.
Common Surface Defects and Their Fixes
The table below summarizes the most frequent tile defects seen in finished Grade B floors. It maps each symptom to its likely cause and the recommended action.
| Symptom | Likely cause | What to do |
|---|---|---|
| Small chip in corner or edge | Impact during installation or foot traffic | Clean the area, apply matching tile adhesive, and press a small matching piece or use a ceramic filler for very small chips |
| Hairline crack in glaze | Thermal movement or substrate flexing | Monitor for growth. If stable, seal the crack with a penetrating sealer. If it widens, replace the tile |
| Glaze crazing (fine network of cracks) | Glaze and body expansion mismatch | Apply a compatible penetrating sealer. Do not use topical sealers on glazed tiles as they may cloud the finish |
| Discoloration or stains | Grout bleeding, moisture wicking, or chemical exposure | Clean with a pH-neutral tile cleaner. If stain persists, apply a penetrating sealer to the tile and grout |
| Edge wear or rounding | Abrasion from heavy traffic or improper handling | Replace the tile if wear is uneven. For isolated spots, use a fine-grit abrasive pad to blend the surface |
| Loose grout around a tile | Poor initial grout application or substrate movement | Remove damaged grout, clean the joint, and regrout with a matching color and formula |
Each defect has a different repair path. A chip and a crack are not the same problem. Misidentifying the cause leads to ineffective fixes and wasted materials.
Step-by-Step Process for Repairing a Finished Floor
When a repair is approved, follow this sequence to minimize disruption and match the existing finish.
- Clear the work area. Remove furniture and protect surrounding tiles with masking tape or plastic sheeting.
- Isolate the defective tile. If replacement is needed, cut out the grout lines around it using a grout saw or oscillating tool. Work slowly to avoid chipping adjacent tiles.
- Remove the damaged tile. Pry it up carefully from the center, not the edges. Use a rubber mallet and a flat pry bar to break the bond without cracking neighboring tiles.
- Clean the substrate. Remove all adhesive residue and broken grout. Vacuum the area and wipe with a damp cloth. The surface must be clean, dry, and free of debris before reapplication.
- Apply fresh adhesive. Use the same type of adhesive specified for the original installation. Apply it with a notched trowel and spread it evenly.
- Set the new tile. Press it firmly into place and check level with a straightedge. Adjust before the adhesive begins to set.
- Allow the adhesive to cure. Follow the manufacturer’s instructions for open time and full cure. Do not walk on the area until the adhesive reaches its rated strength.
- Regout. Mix grout to match the existing color as closely as possible. Apply it to the new joint and allow it to cure. Clean excess grout before it dries.
- Seal the repaired area. Apply a penetrating sealer to the new tile and grout. This protects against staining and helps the repair blend with the surrounding floor.
- Document the repair. Photograph the finished area and record the date, defect type, materials used, and location.
This process takes time. Rushing any step risks poor adhesion, visible mismatch, or future failure.
Matching Grout and Tile for Invisible Repairs
The most visible part of a repair is usually the grout line. If the new grout color differs from the surrounding floor, the repair stands out even if the tile itself is a good match.
Order grout samples from the same manufacturer and batch as the original installation when possible. If the original batch is no longer available, mix small test batches and compare them on a sample tile under the same lighting conditions as the finished floor.
For porcelain tiles, use a polymer-modified grout. It offers better flexibility and water resistance than plain cement grout. For ceramic tiles, a standard cement grout may be sufficient unless the floor is in a wet area.
When cutting a replacement tile, check the glaze direction. Many ceramic tiles have a directional glaze pattern. If the new tile is installed with the glaze running the wrong way, the sheen will differ from the surrounding tiles. This mismatch is often more noticeable than a small chip.
If the exact tile model is no longer in production, look for a close match in color, texture, and glaze finish. Bring a sample of the existing tile to the supplier. Do not rely on a color swatch alone. Glaze appearance changes with lighting and viewing angle.
Preventing New Defects After Repair
A repaired floor is only as good as the care it receives. Preventing new defects is part of the repair process.
Protect the floor during the initial curing period. Keep foot traffic to a minimum for at least 72 hours after reapplication. Avoid moving heavy furniture across the repaired area until the adhesive and grout have fully cured.
Use protective pads under furniture legs. Dragging heavy objects across ceramic or porcelain tiles causes edge chips and glaze scratches. Even light daily wear can round tile edges over time.
Clean the floor with a pH-neutral cleaner. Avoid acidic or alkaline products that can etch the glaze or break down grout. Mop with a damp cloth, not a soaking wet one. Excess moisture can wick into grout joints and cause staining or efflorescence.
Check the repaired area regularly. Look for grout fading, new chips, or movement. Catching a small issue early makes the next repair faster and less invasive.
For high-traffic commercial spaces, consider a floor protection strip at entryways. This reduces abrasive wear from shoes and debris before it reaches the tile surface.
When to Call a Professional
Some repairs exceed what a standard contractor can handle safely. If the defect involves structural movement, widespread tile lifting, or a floor in a wet area like a kitchen or bathroom, bring in a specialist.
A professional can assess substrate conditions that are not visible from the surface. They can determine if the problem is a one-off tile failure or a sign of a larger installation issue. They also have access to specialized tools for cutting, setting, and sealing that produce a cleaner finish.
Do not attempt to repair a tile that is part of a larger pattern or a custom installation. A mismatched piece in a decorative layout can ruin the visual flow of the entire floor. In those cases, professional assessment is worth the cost.
Keep your supplier documentation on hand. If the defect falls within the manufacturer’s quality grade parameters, the supplier may offer a replacement tile or a credit. Having clear records makes the claim process smoother.
Final Checks Before Closing Out the Repair
Before you consider the repair complete, run through this final checklist.
- The repaired tile is level with the surrounding floor.
- Grout color matches the existing installation.
- No visible gaps or loose edges remain.
- The surface is sealed and clean.
- The area is protected from foot traffic and moisture during the remaining cure time.
- Documentation is saved and accessible for future reference.
A good repair is invisible. It should not draw the eye. If you can point to the repaired spot without explanation, the work is done correctly.
Frequently asked questions
Can I repair a Grade B tile defect without replacing the tile?
Yes, many minor defects like small chips, glaze crazing, or surface stains can be corrected in place with fillers, sealers, or cleaning. Larger cracks or structural damage usually require tile replacement.
What grout should I use for a tile repair?
Use the same type of grout as the original installation. For porcelain tiles, a polymer-modified grout is generally recommended for flexibility and water resistance. Match the color as closely as possible.
How long should I wait before walking on a repaired tile?
Wait at least 72 hours for the adhesive and grout to cure fully. Check the manufacturer's instructions for specific open time and full cure requirements.
Will a repaired Grade B tile look the same as the original?
A well-executed repair should be nearly invisible. Matching the grout color, tile glaze direction, and surface texture is key. Small imperfections may still be visible under close inspection, but the floor will look uniform.
Do I need to seal the entire floor after a repair?
No, only the repaired area needs immediate sealing. However, if the surrounding floor has not been sealed, consider sealing the whole area to ensure uniform protection and appearance.