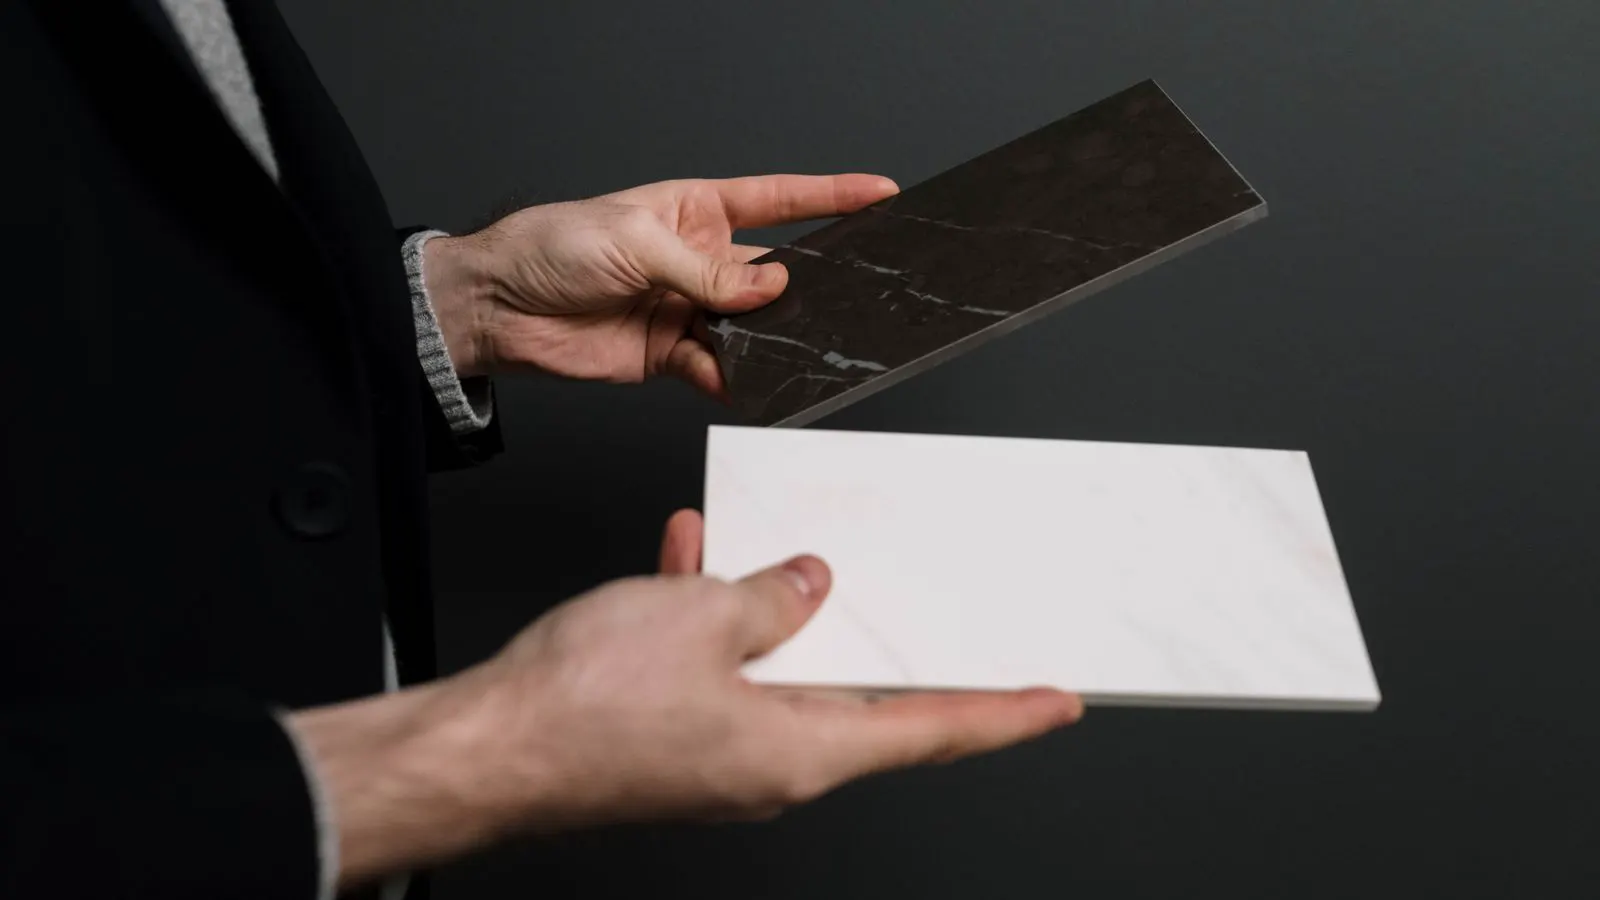
Grade A vs C Tiles: Surface and Edge Comparison

Grade A tiles show uniform color, flat surfaces, and clean edges. Grade C tiles display visible defects like glaze variation and chipped edges. Understanding these differences helps buyers match quality to project needs and avoid costly replacements.
- Grade A tiles pass strict visual checks for flatness, color consistency, and edge integrity.
- Grade C tiles allow visible defects such as glaze variation, pinholes, and chipped corners.
- Surface flatness matters most for large format tiles and wet area installations.
- Edge quality determines how tiles fit together and how well they resist chipping during installation.
- Match tile grade to project visibility, traffic level, and budget constraints.
What defines grade A versus grade C in physical terms
Ceramic grades describe how consistently a tile meets physical standards. Grade A represents the highest visual and dimensional tolerance. Grade C accepts a broader range of acceptable deviations. The difference shows up in the hands of an inspector and on the site during installation.
When you hold a stack of grade A tiles, the surface feels uniform. The glaze layer sits evenly across the field. Edges remain sharp and clean. Grade C tiles may show the same base material, but the glaze application, firing process, or cutting stage introduces visible variation. This variation is not a manufacturing failure. It is a documented allowance that separates the two grades.
The grading system relies on specific measurable parameters rather than subjective opinions about beauty. A tile in the A category must pass strict limits on thickness variation, flatness, and surface uniformity. A tile in the C category passes the same functional tests for strength and water absorption but allows greater deviation in aesthetics. This distinction is critical for project managers because the cost difference between the two grades is often significant, but the performance difference is usually minimal in structural terms. The real difference lies in the finish. An A-grade batch is sorted to ensure every piece in a pallet looks identical. A C-grade batch is sorted to ensure every piece is structurally sound, even if the color or texture varies slightly from neighbor to neighbor.
In a warehouse setting, this distinction becomes clear immediately. If you open a box of A-grade porcelain, the pieces match like clones. The glaze thickness is consistent, and the edges are uniform. If you open a C-grade box, you might see a range of tones or different levels of surface texture. One piece might be slightly darker than the next. Another might have a subtle pinhole in the glaze. Both piles are made from the same kiln and the same clay body. The difference is the sorting process. The A-grade pile rejects any piece that falls outside the tightest visual tolerance. The C-grade pile accepts pieces that fall outside those tight limits but still meet the minimum functional requirements for the building code or project specification.
How to compare surface finish between the two grades
Surface defects fall into two categories: glaze-related and body-related. Glaze defects appear on the visible face. Body defects show through the glaze as texture or color shifts.
Grade A surfaces must pass a visual inspection at close range. Small pinholes, streaks, or color banding that a trained eye can detect in normal lighting disqualify the tile. The glaze must look consistent from the center to the edges. Matte, glossy, and textured finishes all follow the same principle. The variation must stay within the tolerance set by the producer.
Grade C surfaces allow more freedom. A few pinholes may appear in the glaze. Slight color variation between tiles is acceptable. In textured or unglazed surfaces, small pits or uneven texture are part of the expected look. The key difference is that grade C variation becomes noticeable when tiles are laid side by side, not when examined individually.
To understand the practical impact, consider a large-format porcelain tile with a glossy white finish. In a grade A batch, every tile reflects light identically. There are no streaks from the dipping process, no bubbles trapped in the glaze, and no variation in the sheen. If you place two tiles side by side, they appear as a single, continuous sheet. In a grade C batch, you might find a tile with a faint streak where the glaze pooled too thickly during dipping. Another tile might have a tiny bubble in the glaze layer that creates a dimple in the surface. A third might show a slight variation in the white tone, appearing more creamy than its neighbors. Individually, these tiles are high quality. They are strong, durable, and water-resistant. But when laid in a large area, the eye picks up on the inconsistencies. The streaks catch the light at different angles. The bubbles create subtle shadows. The color shifts make the floor or wall look patchy rather than uniform.
For textured finishes, the distinction is even more nuanced. A grade A textured tile might have a consistent pebble texture across the entire face. The peaks and valleys are uniform, creating a predictable light and shadow pattern. A grade C textured tile might have areas where the texture is denser or sparser. This can happen due to slight variations in the pressing or dipping process. In a high-visibility area, this unevenness can make the surface look chaotic rather than intentionally textured. In a low-visibility area, the same variation adds character and reduces the visual monotony of a large, uniform surface.
Edge quality and how it affects installation
Edges reveal the mechanical integrity of the tile. A clean edge means the tile held its shape through cutting and handling. A chipped edge means the tile lost material at the corner or along the cut face.
Grade A edges must be free of chips, cracks, and uneven bevels. The edge should show the same thickness as the face. During installation, clean edges allow tight joints. The tile does not require extra grinding to fit adjacent pieces. This saves time and reduces the risk of creating new cracks.
Grade C edges may show small chips at corners. The bevel may vary from tile to tile. In high-traffic areas, these chips can catch on grout or wear down over time. In low-visibility areas such as under furniture or in utility spaces, these imperfections rarely become visible. The edge quality check is one of the fastest ways to separate the two grades in a physical inspection.
Edge condition is often the first thing an installer notices when opening a box. In a grade A batch, the edges are crisp and straight. The thickness is consistent along the entire perimeter. When you run your finger along the edge, it feels smooth and uninterrupted. In a grade C batch, you might find a small chip at a corner where the tile was handled roughly during packaging. Another tile might have a slightly rounded edge on one side due to the cutting process. These imperfections do not affect the tile’s ability to bear weight or resist water. However, they significantly impact the installation process.
For a professional installer, a grade A tile reduces the time spent on grinding and fitting. If every tile has a clean, straight edge, the joints can be made uniformly narrow. The grout bed remains consistent. The final finish is precise. With grade C tiles, the installer must account for the chips and bevel variations. Some tiles might need to be ground down to match the height of adjacent pieces. This creates uneven joints and increases the risk of grout lines being too wide in some places and too narrow in others. In high-traffic areas, these small edge chips can also become a long-term issue. The grout can work its way into the chip, weakening the joint. Over time, the chip can expand, leading to a crack that propagates through the tile. In a low-visibility area, these issues are rarely visible, making the cost savings of grade C more attractive.
Flatness and how it changes the final look
Flatness is not a surface defect. It is a dimensional one. A tile can have a perfect glaze finish but still bend, bow, or twist. When laid, that curvature creates shadow gaps. Grout lines become uneven. The wall or floor appears wavy.
Grade A tiles must fall within a strict flatness tolerance. The face should sit flat on a reference plane. The maximum deviation is measured at the corners and center. When installed, the tiles create a continuous plane. This matters in large format applications where even a small bow becomes visible across several tiles.
Grade C tiles allow a wider flatness range. A slight bow may be acceptable. In small format tiles, this deviation is hard to detect during installation. In large format tiles, it becomes a problem. The grout lines may not align cleanly. Adjacent tiles may not sit at the same level. The result looks uneven even if individual tiles look fine.
Flatness is a critical factor in any tiling project, but it is often underestimated until the tiles are on the wall or floor. A tile that is not flat creates a three-dimensional surface instead of a two-dimensional plane. When you lay a row of slightly bowed tiles, the grout lines do not align perfectly. One grout line might be wider than the next. The joints may appear wavy, especially in large format applications where the tiles are bigger and the deviations are more pronounced.
In a grade A batch, the flatness tolerance is tight. The tiles are selected to ensure they sit perfectly flat on a reference surface. This means that when installed, the surface is smooth and even. The light falls across the surface without creating shadows or highlights that indicate curvature. In a grade C batch, the tiles may have a slight bow or twist. This is not a defect in the structural sense. The tiles are still strong and durable. However, the visual impact is significant. In a small format application, such as a 150mm x 150mm tile, the flatness variation is often too small to notice. The grout lines are narrow, and the eye does not pick up on the slight curvature. But in a large format application, such as a 1200mm x 2400mm porcelain tile, the same flatness variation becomes very visible. The grout lines may appear uneven. The surface may look wavy. The light may catch the edges of the tiles, creating a rippled effect.
This is why flatness is a key differentiator between grade A and grade C. For a high-visibility area where a smooth, continuous surface is desired, grade A is the better choice. For a low-visibility area where the exact flatness is less important, grade C can be a cost-effective option.
Comparison table: physical differences at a glance
| Feature | Grade A | Grade C |
|---|---|---|
| Glaze consistency | Uniform across the tile face | Minor color variation and pinholes allowed |
| Surface defects | No visible defects under standard inspection | Small pits, streaks, and texture shifts acceptable |
| Edge condition | Clean, unchipped, consistent bevel | Small corner chips and bevel variation allowed |
| Flatness tolerance | Strict dimensional limit | Wider deviation range |
| Color matching | Batch consistency expected | Variation between tiles permitted |
| Installation effort | Minimal cutting and fitting | More grinding and alignment needed |
When to choose each grade for a project
The right grade depends on three factors: visibility, traffic, and budget. Visibility is the most direct factor. Tiles in a lobby, a kitchen backsplash, or a retail display get examined closely. Grade A suits these spaces because the surface and edge quality hold up under scrutiny.
Traffic changes the equation. A floor in a warehouse or a plant area sees heavy use. Even a small chip on a grade C edge can become a trip hazard or a crack point over time. Grade A is the safer choice for high-traffic floors. The higher cost pays for reduced replacement and maintenance.
Budget matters too. If the tiles sit behind a counter or in a storage area, grade C is a practical option. The visible defects do not affect function. The edge chips do not catch on anything. The flatness variation does not create shadow gaps because the area is not viewed at close range. Choosing grade C in these situations saves money without hurting the final result.
Visibility is the primary driver for choosing between grade A and grade C. If the tiles are in a space where people will look at them closely, grade A is usually the better choice. A lobby, a kitchen backsplash, a retail display, or a bathroom vanity area are all high-visibility spaces. In these areas, the surface finish, edge quality, and color consistency are all important. A grade A tile will provide a uniform, high-quality finish that holds up under close inspection. A grade C tile, on the other hand, may show variations in color, texture, or edge condition that are noticeable in a high-visibility space.
Traffic is the second key factor. Floors in high-traffic areas, such as warehouses, plant areas, or public walkways, are subject to heavy use. Even a small chip on a grade C edge can become a trip hazard or a crack point over time. The constant foot traffic can wear down the edge, leading to a larger chip or even a break. In these areas, grade A is the safer choice. The higher cost is justified by the reduced risk of damage and the lower maintenance requirements. In low-traffic areas, such as storage rooms or utility spaces, the traffic factor is less important. A grade C tile is a practical option in these areas because the defects are unlikely to be noticed or cause problems.
Budget is the third factor. If the budget is tight, grade C can be a cost-effective option. In low-visibility areas, the savings from using grade C tiles can be significant without impacting the final result. The visible defects do not affect function. The edge chips do not catch on anything. The flatness variation does not create shadow gaps because the area is not viewed at close range. Choosing grade C in these situations saves money without hurting the final result.
How to inspect tiles for grade differences on site
Bring a flat reference surface and a light source. Place the tiles face up. Shine the light at a low angle across the surface. This reveals glaze variation and surface texture that normal lighting hides. Check the corners for chips. Run a finger along the edge. A clean edge feels smooth. A chipped edge feels rough.
Compare tiles side by side. Look at color and finish. Grade A tiles should match closely. Grade C tiles will show more variation. This does not make them unusable. It makes them unsuitable for high-visibility areas.
Check the flatness by placing a tile on a known flat surface. Look at the gap between the tile and the surface. A large gap at the corners or center indicates a bow. Grade A tiles show minimal gap. Grade C tiles may show a visible gap. This check takes seconds and tells you whether the tile will sit flat during installation.
Keep the inspection simple. Do not over-test. The goal is to confirm the grade matches the project requirement. If the tiles are labeled grade A but show grade C defects, the batch does not meet specification. If the tiles are labeled grade C but look like grade A, you may have a quality upgrade. In both cases, document the finding and verify it against the producer’s grading standard.
Inspection is a critical step in the tiling process. It allows you to confirm that the tiles you have received match the grade specified in the project requirements. A simple inspection can save you from a costly mistake. If the tiles are not the grade you need, you can reject them or negotiate a price reduction before they are installed.
Start with a flat reference surface and a light source. Place the tiles face up on the surface. Shine the light at a low angle across the surface. This reveals glaze variation and surface texture that normal lighting hides. Look for pinholes, streaks, or color banding. In a grade A tile, these defects should not be visible. In a grade C tile, they may be present.
Check the edges for chips and cracks. Run your finger along the edge. A clean edge feels smooth. A chipped edge feels rough. In a grade A tile, the edges should be clean and unchipped. In a grade C tile, small chips are acceptable.
Compare tiles side by side. Look at color and finish. Grade A tiles should match closely. Grade C tiles will show more variation. This does not make them unusable. It makes them unsuitable for high-visibility areas.
Check the flatness by placing a tile on a known flat surface. Look at the gap between the tile and the surface. A large gap at the corners or center indicates a bow. Grade A tiles show minimal gap. Grade C tiles may show a visible gap. This check takes seconds and tells you whether the tile will sit flat during installation.
Keep the inspection simple. Do not over-test. The goal is to confirm the grade matches the project requirement. If the tiles are labeled grade A but show grade C defects, the batch does not meet specification. If the tiles are labeled grade C but look like grade A, you may have a quality upgrade. In both cases, document the finding and verify it against the producer’s grading standard.
Frequently asked questions
Can grade C tiles be used in kitchens?
Yes, if they go in low-visibility areas such as under the sink or behind cabinets. Avoid them on open backsplashes where surface variation shows.
Do grade A and C tiles come from the same factory?
Often, yes. The same production line can output both grades based on inspection results. The material is similar. The tolerance level differs.
Is grade C a sign of poor manufacturing?
No. It is a documented category for tiles that miss strict visual or dimensional limits but still meet structural requirements.
How do I check if tiles are truly grade A?
Inspect the surface at a low light angle, check edges for chips, and test flatness on a reference plane. Compare tiles side by side for color consistency.
Can a tile be upgraded from grade C to grade A?
No. Grading is based on the physical condition of the tile. You cannot alter a chip or a glaze defect after production.