How to Inspect Ceramic Tiles for Grade B Defects
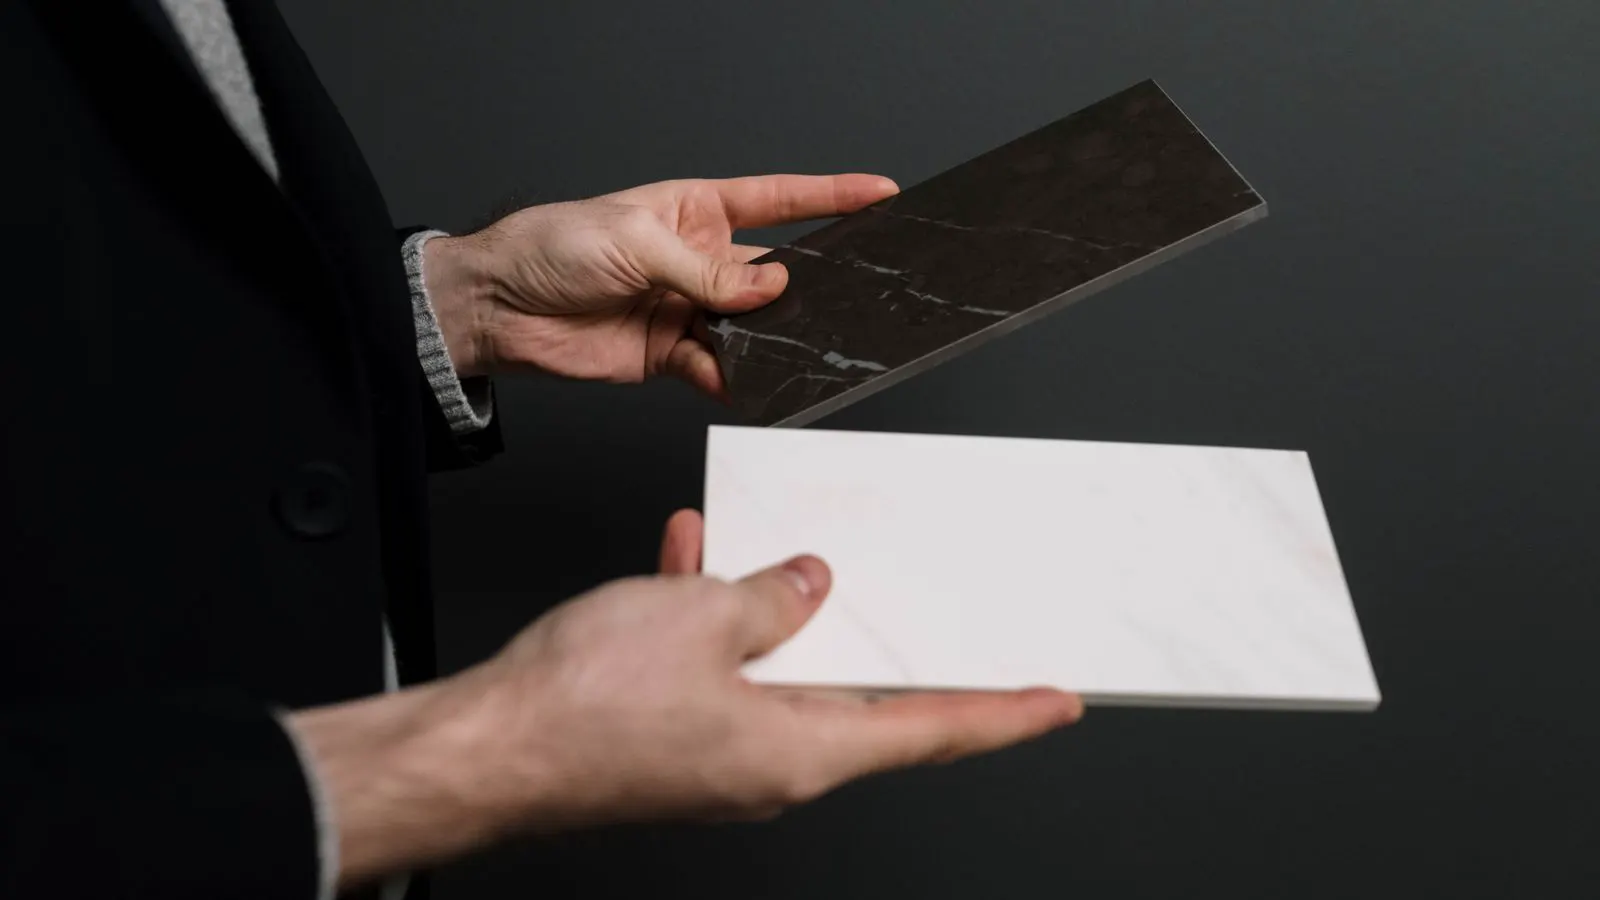
Grade B tiles contain visible defects like chips, stains, or color variations that affect aesthetics but not structural integrity. Inspect by checking edges, surfaces, and corners under proper light. Verify the grade against the manufacturer's quality control documentation to ensure the correct material is delivered.
- Grade B tiles are structurally sound but have visible aesthetic flaws such as chips or color shifts.
- Inspect tiles under direct light and check edges, corners, and the surface for specific defects.
- Verify the grade against the manufacturer's quality control documentation to prevent receiving incorrect stock.
- Common mistakes include checking only the center of the tile or ignoring edge chipping.
Grade B tiles are produced with the same structural integrity as Grade A but are set aside when they fail strict aesthetic criteria. The distinction lies in visual presentation rather than performance. A buyer must inspect the stock carefully to confirm the grade matches the intended application. This prevents a costly mix-up where lower-grade material is installed in a high-visibility area.
What defines a Grade B defect
Grade B classification is not a single type of flaw. It covers a spectrum of visible imperfections that prevent a tile from meeting the highest aesthetic standard. These defects do not compromise the tile’s ability to hold weight or withstand wear. They simply mean the surface or edges do not look uniform.
Common Grade B defects include:
- Chipping: Small breaks at the edges or corners, often caused by handling or cutting during production.
- Staining: Discoloration on the surface caused by mineral deposits, mud, or manufacturing residue.
- Color Variation: Differences in shade that exceed the tolerance for a uniform batch.
- Glaze Imperfections: Pinholes, bubbles, or uneven glaze thickness that creates a rough texture.
- Warping: A slight bowing that causes the tile to sit unevenly on a flat substrate.
- Scratches: Deep lines in the glaze that cannot be polished out.
It is critical to understand that a tile with a small chip on a back corner may be Grade B, while a tile with a hairline crack through the center is often rejected entirely. The severity and location of the defect determine the final grade.
Prerequisites for a proper inspection
Before you begin checking a batch of tiles, you need the right environment and tools. A rushed inspection in poor lighting will miss subtle flaws.
1. Lighting Setup
Use bright, even lighting. Natural daylight is ideal, but a strong LED work light at a 45-degree angle works well. Direct light reveals surface texture and glaze issues that flat lighting hides.
2. Reference Sample
Have a known Grade A tile or a manufacturer’s reference standard on hand. This provides a baseline for comparison. Without it, you are judging based on personal preference rather than standard.
3. Clean Work Surface
Use a flat, clean table. A dirty or uneven surface can hide defects or create false impressions of warping.
4. Gloves
Wear thin, clean gloves. Fingerprints and oils from your skin can obscure small stains or create false scratches.
Step-by-step inspection process
Follow these steps to systematically check each tile. This method ensures you catch defects that might be missed by a casual glance.
-
Visual Sweep of the Face
Hold the tile at arm’s length and look at the entire face. Scan for obvious stains, large chips, or major color shifts. This is the first filter. If a tile has a visible flaw here, it is likely Grade B.Reason: This step quickly identifies the most obvious defects, allowing you to separate obvious rejects from those requiring closer inspection.
-
Edge and Corner Check
Bring the tile to eye level. Run your fingertips gently along all four edges. Look for chipping, nicks, or rough spots. Check the corners specifically, as they are the most vulnerable points during handling.Reason: Edge defects are common in Grade B tiles but do not always affect the visible face. A chipped corner is a clear indicator of a lower grade.
-
Surface Texture Assessment
Run your hand lightly across the glaze surface. Feel for pinholes, bubbles, or rough patches. Also, look for areas where the glaze appears thin or uneven.Reason: Glaze imperfections affect the tile’s durability and appearance. A rough spot may show as a dull area under certain lighting conditions.
-
Warping Test
Place the tile flat on the work surface. Look at the edges from a low angle. Check if the tile bows or cups. You can also place a straight edge or level along the diagonal and look for gaps.Reason: Warping affects installation. A warped tile will not sit flat, leading to uneven grout lines and potential breakage under foot traffic.
-
Color and Pattern Consistency
Compare the tile against your reference sample. Look for color shifts, especially in the center versus the edges. If the tile has a pattern, check for misalignment or printing errors.Reason: Even if the defect is small, a significant color shift makes the tile Grade B. This is particularly important for large-format tiles.
-
Light Reflection Check
Tilt the tile under the light source. Watch how the light reflects off the surface. Look for “shimmer,” which indicates uneven glaze thickness or a soft glaze.Reason: Shimmer is a subtle defect that only shows when light hits the surface at a specific angle. It is a common reason for a Grade B rating.
-
Corner and Back Check
Flip the tile over. Check the back for manufacturing marks, excess slip, or structural cracks. While the back is not visible, severe damage here suggests the tile is structurally compromised.Reason: A crack in the body, even if hidden, can lead to breakage. This step ensures the tile is structurally sound.
Common inspection mistakes
Even experienced buyers make errors during inspection. Avoid these common pitfalls.
- Checking Only the Center: Many inspectors look only at the middle of the tile. Defects often occur at the edges or corners. Always check the full perimeter.
- Poor Lighting: Inspecting in dim or indirect light hides glaze issues and stains. Use strong, direct light.
- Ignoring the Reference: Without a Grade A reference, you may accept a tile that is actually Grade B because it looks “fine” to you. Always compare.
- Rushing: Taking too much time per tile leads to fatigue and missed defects. Take a consistent, measured pace.
- Confusing Wear with Defect: A small scratch from handling is not the same as a manufacturing defect. If the scratch is fresh and on the glaze, it is a defect. If it is a small nick in the edge, it is also a defect.
Final verification step
After inspecting a sample of tiles, verify the grade against the documentation.
1. Check the Invoice and Certificate of Analysis
The manufacturer should provide a grade designation on the invoice. For example, “Grade A” or “Grade B.” Ensure the grade on the paper matches the grade you physically inspected.
2. Sample the Batch
Do not inspect just one tile. Inspect a random sample from the batch. If the first tile is perfect, the rest may not be. A common practice is to inspect 10% of the tiles or a fixed number, whichever is greater.
3. Document Findings
If you find defects, document them. Take photos of the specific flaws. Note the tile size, batch number, and the nature of the defect. This is your record for any disputes or returns.
4. Confirm Acceptance Criteria
Some projects require zero Grade B tiles. Others allow a small percentage. Confirm the acceptance criteria with your project manager or architect. If the project requires Grade A, you must reject any Grade B tiles.
How to handle a rejected batch
If the inspection reveals a high number of Grade B defects, you have a few options.
- Reject the Batch: Return the tiles to the supplier. You are entitled to a replacement with the correct grade.
- Negotiate a Price Reduction: If the defects are minor and the project timeline is tight, you may negotiate a discount for the Grade B material. This is a common practice in the industry.
- Use for Non-Visible Areas: If the project allows, you may use the Grade B tiles in areas that are not highly visible, such as the back of a corridor or a service area. This requires explicit approval from the client.
Do not accept a batch of Grade B tiles for a Grade A application without a formal written agreement. This protects you from liability and ensures the project meets the specified quality standards.
Frequently asked questions
Can a Grade B tile be used in a residential kitchen?
Yes, if the defects are not in high-traffic or high-visibility areas. However, check the project specifications. Some clients and architects require Grade A for all visible surfaces.
How do I distinguish between a Grade B defect and normal variation?
Normal variation is within the manufacturer's stated tolerance. A Grade B defect is outside that tolerance. Always refer to the manufacturer's quality control documentation for the acceptable range of color and texture.
Is warping a sign of a defective tile?
A slight warp may be acceptable within the manufacturer's specification. A significant warp that prevents the tile from sitting flat is a Grade B defect. Use a straight edge to check.
What if the supplier says all tiles are Grade A but I find Grade B defects?
Document the findings with photos and batch numbers. Contact the supplier with your evidence. You are entitled to a replacement or a price adjustment if the material does not match the grade specified in the contract.
Do all manufacturers use the same definition for Grade B?
Not always. While the general principles are similar, the specific tolerance for color variation and edge chipping can differ. Always review the manufacturer's specific quality control standards. ===END===