Troubleshooting Wall Tile Grout Cracking and Failure
Grout cracking in wall tiles usually stems from substrate movement, improper mixing, or lack of movement joints. Identify the specific symptom to select the correct repair method, such as re-grouting, replacing cracked grout, or installing new control joints to prevent future failure.
- Substrate movement is the primary cause of grout cracking in wall tiles.
- Proper mixing and curing of grout prevent premature failure.
- Movement joints are necessary to absorb thermal and structural shifts.
- Repair techniques vary based on the severity and pattern of the cracks.
- Prevention requires correct substrate preparation and material selection.
Grout cracking in wall tiles is a common maintenance issue that affects both aesthetics and water resistance. The grout line acts as a flexible sealant between rigid tiles, and when it fails, water can penetrate the substrate behind the tiles. This leads to mold, substrate damage, and potential tile detachment. Understanding the specific failure mode is the first step toward a durable repair.
Why does grout crack in wall tiles?
Grout is a cementitious material, but it is not designed to absorb large structural movements. When the substrate behind the tile shifts, the grout becomes the weakest link. This happens for several reasons.
First, thermal expansion and contraction. In bathrooms, kitchens, and outdoor walls, temperature changes cause the tile and substrate to expand and contract at different rates. If the gap between the grout line and the tile is too tight, or if the grout mix is too hard, the stress concentrates in the grout. Porcelain tiles, for example, expand and contract less than ceramic tiles, but the substrate, such as a plasterboard or cement board, may react differently. When the differential movement exceeds the elasticity of the grout, the material fractures.
Second, structural movement. In older buildings or structures with settling foundations, the wall itself may shift. This movement is often too large for standard grout to accommodate. Without a movement joint, the grout cracks to relieve the pressure. A slight rotation of the wall plane can cause diagonal cracking across an entire grid of tiles.
Third, moisture damage. If the wall substrate is not properly sealed or if there is a hidden leak, the cement in the grout can degrade. This weakens the material, making it prone to cracking under normal stress. Freeze-thaw cycles in unheated areas can exacerbate this by expanding the water trapped in the grout pores, causing the material to spall or crumble.
Finally, installation errors. If the tile setter used too much grout, or if the tiles were not set at the correct spacing, the grout lines may be too thick or uneven. This creates stress points that lead to early failure. A grout line that is wider than recommended has a higher surface area for drying, which can lead to shrinkage cracks. Conversely, a line that is too narrow leaves no room for the tiles to move independently.
How to identify the root cause
Before repairing, you must identify why the grout failed. A simple visual inspection and a few physical tests can reveal the underlying issue.
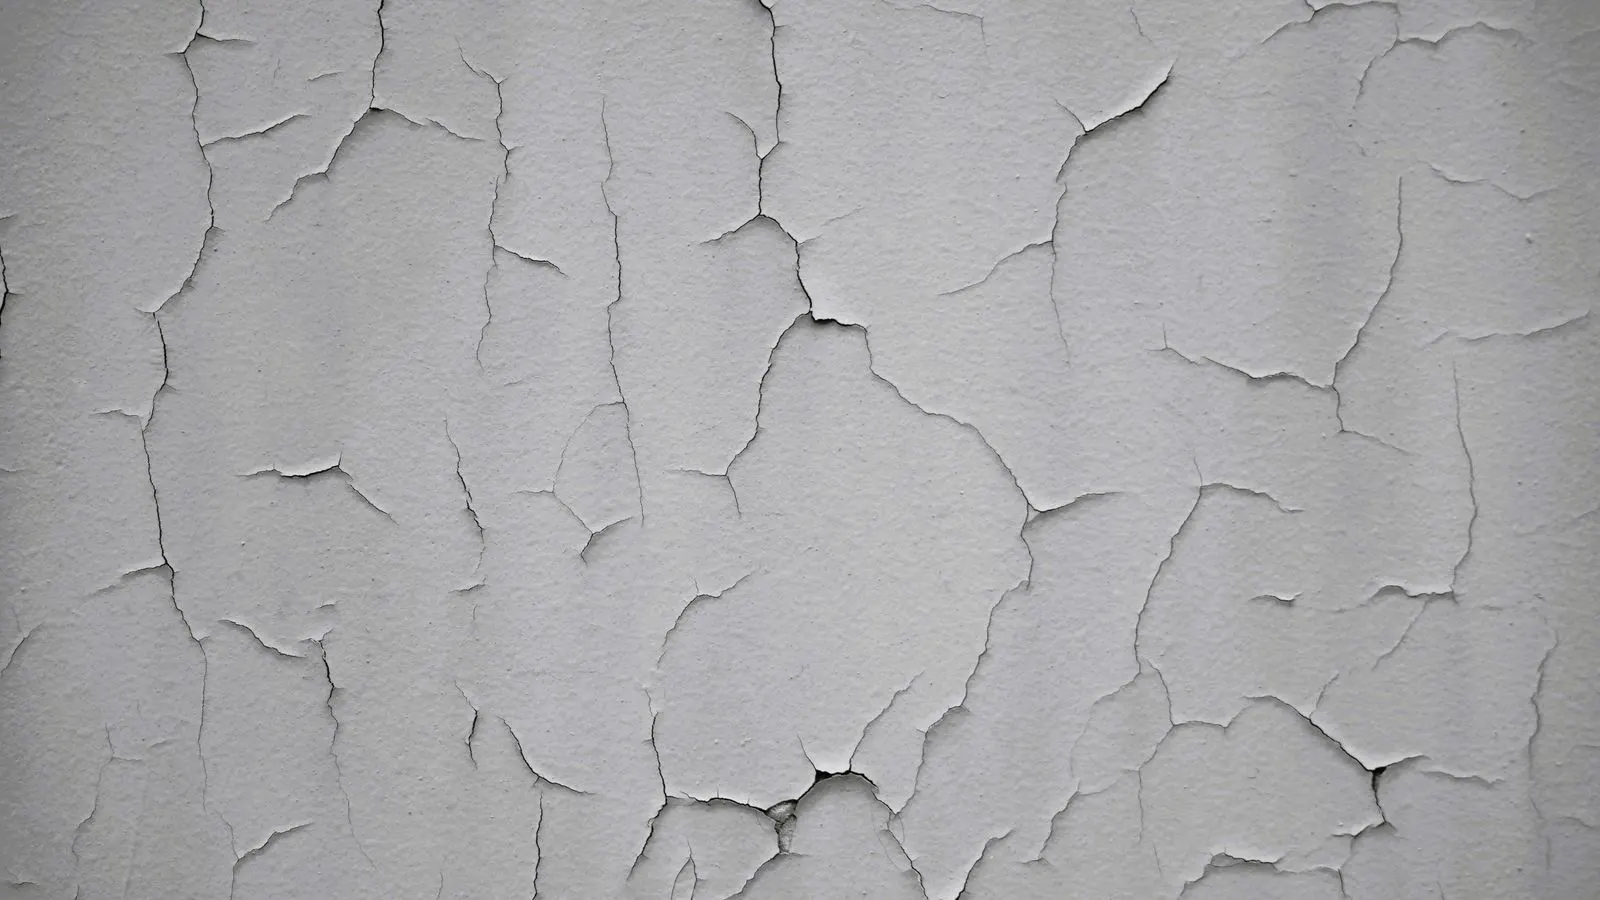
Check the pattern of the cracks. A single crack running diagonally across a grout joint often indicates a localized stress point, such as a nail or screw penetrating the grout. A series of parallel cracks along a long wall suggests thermal movement or a lack of a movement joint. Cracks that appear in a random, web-like pattern across multiple tiles usually point to substrate movement or excessive moisture. The direction of the cracks is a key diagnostic tool. Cracks perpendicular to the substrate surface suggest the wall is twisting or warping. Cracks parallel to the surface suggest the wall is bowing or stretching.
Check the grout condition. Run your finger along the crack. If the grout is soft, powdery, or crumbling, the mix may have been over-thinned or improperly cured. If the grout is hard but cracked, the cause is likely mechanical stress. You can also check the edges of the tiles. If the grout is missing from the edges, the tiles were likely not set flush, or the adhesive bed was compromised.
Check the substrate. Knock on the tiles. A hollow sound indicates that the tile has detached from the substrate. This is a serious failure mode that requires more than just re-grouting. If the wall is a plaster or cement board, check for hairline cracks in the plaster itself. This confirms structural movement. Use a moisture meter if available. A reading above the manufacturer’s threshold for the substrate material indicates active moisture, which will cause any new grout to fail.
Common symptoms, causes, and fixes
The table below summarizes the most common symptoms of grout failure and the appropriate corrective actions.
| Symptom | Likely cause | What to do |
|---|---|---|
| Single hairline crack in one joint | Localized stress, nail penetration, or minor substrate shift | Clean the crack, apply matching grout, and monitor for recurrence. |
| Multiple parallel cracks across a wall | Thermal expansion without a movement joint | Install a movement joint in a low-visibility area and re-grout the damaged section. |
| Crumbling or powdery grout throughout | Over-thinned grout mix or poor curing | Remove all failed grout, clean the joints, and re-grout with a properly mixed, polymer-modified grout. |
| Cracks radiating from a corner or edge | Lack of movement at the perimeter or structural movement | Install a movement joint at the corner and re-grout. Check the substrate for larger issues. |
| Hollow sound when tapping tiles | Tile detachment due to substrate failure or poor adhesive | Remove the affected tiles, repair the substrate, and re-tile the area. |
| Water staining behind grout lines | Grout failure allowing water penetration | Repair the grout, apply a penetrating water repellent to the grout and tile, and check for hidden leaks. |
How to repair cracked grout
The repair process depends on the extent of the damage. For minor cracks, a local repair is sufficient. For widespread failure, you may need to re-grout an entire section.
For minor cracks, start by cleaning the joint. Use a grout removal tool or a narrow putty knife to remove the loose material. Be careful not to damage the tile edges. A rotary tool with a grout removal bit can be used for stubborn material, but hold it at a shallow angle to avoid chipping the tile surface. Vacuum the area to remove dust. Apply a matching grout color to the crack. If the original grout color has changed due to staining, mix a small batch of the new grout with a pigment to match the existing joint. Use a grout float to press the material into the joint. Wipe away excess with a damp sponge. Allow the grout to cure for 24 to 48 hours before exposing it to water.
For widespread failure, remove all the failed grout from the affected area. This may require a grout removal tool or a small oscillating tool. Clean the joints thoroughly. If the substrate is damaged, repair it before re-grouting. Apply a new batch of grout, ensuring the mix is consistent. For areas with high moisture, use a polymer-modified grout, which offers better flexibility and adhesion. Apply the grout in a single direction to ensure even coverage. Wipe the excess with a sponge held at a 45-degree angle to the tiles. Do not rinse the tiles with a stream of water immediately, as this can pull the grout out of the joints. Let the grout set until it is no longer sticky, then buff it with a dry sponge to remove the haze.
After re-grouting, apply a penetrating water repellant to the grout and the tile surface. This helps prevent future moisture-related failures. Monitor the repaired area for two to three weeks. If new cracks appear, the underlying structural issue is still active, and a movement joint or professional assessment is required.
How to prevent grout cracking in wall tiles
Prevention is always cheaper and less disruptive than repair. The following practices reduce the risk of grout failure.
-
Prepare the substrate correctly. The wall surface must be flat, clean, and stable. Use a suitable backer board for wet areas. Apply a thinset adhesive that provides good flexibility. Check the manufacturer’s specifications for the required movement allowance. Ensure the board is firmly fixed to the wall studs or studs at the correct spacing to prevent deflection under load.
-
Use the right grout. For wall tiles, a cementitious grout is standard. For areas with high thermal variation or structural movement, consider a polymer-modified grout or a flexible grout. Avoid using grout that is too stiff for the application. Check the tile size and the joint width. Larger tiles with wider joints are more prone to cracking if the grout lacks flexibility.
-
Install movement joints. In large wall areas, or in areas with high thermal variation, install movement joints every 2 to 3 meters. These joints should be filled with a flexible sealant, not grout. This absorbs the movement and prevents stress from building up in the grout lines. The joint should be placed at a corner, around a doorway, or near a window where the movement is most likely to occur.
-
Mix grout properly. Follow the manufacturer’s instructions for water-to-powder ratio. Do not over-thin the mix, as this weakens the final product. Mix until the consistency is like peanut butter. Let the grout slake for 5 to 10 minutes before use. Do not add water to the mix after it has started to set.
-
Allow proper curing. Keep the grout damp for the first 24 to 48 hours. Avoid exposing it to heat, cold, or direct sunlight during this time. Proper curing ensures the grout reaches its full strength. Use a misting bottle to keep the surface damp without flooding the joints.
When to call a professional
Some grout failures are symptoms of larger structural or moisture problems. If the cracks are extensive, or if the tiles are detached, a professional assessment is necessary. A tile installer or a structural engineer can evaluate the substrate and recommend the correct repair strategy. Ignoring a structural movement issue will lead to recurring grout failure and potential water damage.
Frequently asked questions
Can I paint over cracked grout to hide it?
No. Painting over grout does not fix the underlying cause of the cracking. The paint will crack and peel as the grout moves. Repair the grout first, then consider painting or sealing if needed.
What is the difference between grout and sealant?
Grout is a cementitious material used to fill small gaps between tiles. Sealant is a flexible material, often silicone or acrylic, used to fill larger gaps or movement joints. Grout is not flexible enough to absorb structural movement.
How often should I re-grout wall tiles?
Grout can last for many years if installed correctly. Regular cleaning and re-sealing can extend its life. Re-grout when the grout shows signs of wear, such as crumbling, discoloration, or loss of adhesion.
Is polymer-modified grout better than standard grout?
Polymer-modified grout is generally better for wet areas and areas with high thermal variation. It offers better flexibility, adhesion, and stain resistance. Standard grout is suitable for low-movement areas.
Can I use caulk instead of grout?
Caulk is not a substitute for grout. Caulk is designed for movement joints and larger gaps. It is not strong enough to support tile joints. Use grout for tile joints and caulk for movement joints.